Creating the File Metadata Microservice
Planning our microservice
This app is going to be the smallest yet, in terms of original code. Since we're using Controllers, the routing work will be done for us and we can focus on writing our microservice (that's what frameworks are all about, right?)
Middleware
We won't need any custom middleware for this app. We need to add CORS support and Controller support.
Controllers
We only need one Controller: FileAnalyseController (because our path is /fileanalyse). FileAnalyseController needs to accept POST requests at /fileanalyse that upload a file from a form.
Responses
The microservice tests don't specify an error response, so we'll just send a generic 400 Bad Request if an error does occur - but it shouldn't as long as everything works, because the FreeCodeCamp tests aren't meant to create error conditions in your microservice this time.
As for the success response, we need a FileMetadata class with properties for the filename, MIME type, and size.
Now, we can start writing our File Metadata Microservice!
Preparing our app
Add Controller support
First thing, we need to configure our app to use Controllers. To do that, add using Microsoft.Extensions.DependencyInjection to your using statements, then add a ConfigureServices method to the Startup class:
public void ConfigureServices(IServiceCollection services)
{
    services.AddControllers();
}
This simply adds Controllers to the services.
Next, add routing and map your Controllers to endpoints in the Configure() method after if (env.IsDevelopment())...:
app.UseRouting();
app.UseEndpoints(endpoints =>
{
    endpoints.MapControllers();
});
This tells your app to use routing middleware and maps your Controller actions to endpoints in your app.
Add CORS support
We know FreeCodeCamp can't test our API without CORS, so let's go ahead and configure that too. In ConfigureServices, add the following before services.AddControllers():
services.AddCors(options =>
{
    options.AddDefaultPolicy(policy =>
    {
        policy.WithOrigins("https://www.freecodecamp.org")
              .WithMethods("POST")
              .AllowAnyHeader();
    });
});
This adds CORS to your app services and creates a default policy that allows https://www.freecodecamp.org to send POST requests to your app with any HTTP header.
Then, add app.UseCors() before app.UseRouting. Since we're using a default policy, we don't need to pass any arguments.
Set up app URL
I forgot to do this in the initial commit of the app, so let's go ahead and add a Urls key to the appsettings.json file (other configuration omitted):
{
	"Urls": "http://127.0.0.1:5000"
}
Creating the FileMetadata model
Create a new directory within your app, Models, and create a file within called FileMetadata.cs. Open this file and add the following code:
namespace file_metadata.Models
{
	public class FileMetadata
	{
		public string Name { get; set; }
		public string Type { get; set; }
		public long Size { get; set; }
	}
}
Our filename and MIME type will be strings, and our size should be a long - this isn't required by the app, but IFormFile's file size property is a long so I decided just to go with that.
Creating the FileAnalyseController
Let's start by creating the Controller file. Make a new directory within your app, Controllers, and add a file within named FileAnalyseController.cs. Open that file and enter the following code:
using Microsoft.AspNetCore.Mvc;

namespace file_metadata.Controllers
{
	[ApiController]
	[Route("[controller]")]
	public class FileAnalyseController : ControllerBase
	{
		public IActionResult Index()
		{
			return Ok();
		}
	}
}
This code creates an API Controller routed to /fileanalyse. It has a single endpoint: GET /fileanalyse, which returns a blank 200 OK response.
Completing the Controller action
The FileAnalyseController is supposed to accept a POST request instead of GET, so add the [HttpPost] attribute to the Index() method.
The Index() method is supposed to receive a file upload named "upfile" from an upload form, so change the method signature to accept [FromForm] IFormFile upfile as an argument. [FromForm] tells ASP.NET Core that upfile is a field in a form body, and IFormFile tells ASP.NET Core that that field should be a file. To import IFormFile, add using Microsoft.AspNetCore.Http to your using statements.
Finally, create an instance of FileMetadata and copy IFormFile.FileName, IFormFile.Length, and IFormFile.ContentType into the appropriate fields on FileMetadata. Wrap the entire call in a try/catch block to catch errors, and if any errors occur, return a generic 400 Bad Request. Otherwise, return the data. Add using System to import the Exception class for the try/catch, and add using file_metadata.Models to import the FileMetadata model.
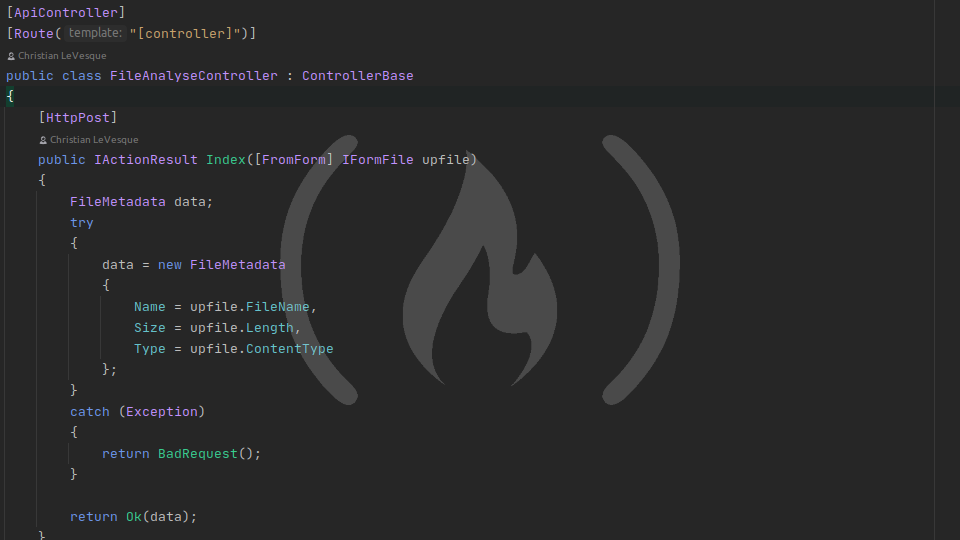
Your final Index() method should look like this:
[HttpPost]
public IActionResult Index([FromForm] IFormFile upfile)
{
    FileMetadata data;
    try
    {
        data = new FileMetadata
        {
            Name = upfile.FileName,
            Size = upfile.Length,
            Type = upfile.ContentType
        };
    }
    catch (Exception)
    {
        return BadRequest();
    }

    return Ok(data);
}
Testing our application
Let's run! Launch the app and hop over to Postman. Since the app only does one thing, we only need to run a single manual test.
- Create a
POSTrequest tolocalhost:5000/fileanalyse. - Set the
Originheader tohttps://www.freecodecamp.org. - Set the
Access-Control-Request-Methodheader toPOST. - In the Body tab, set the body type to
form-data - Add a single key named
upfile. Hover your mouse near the right edge of the Key field and you'll see a small dropdown appear with the valueText. Switch this toFile, then select any file you like from your hard drive in the Value field.
Send the request, and observe your file metadata! I used a picture of my wife and me in front of a windmill on our honeymoon (we're simple folks), so my file metadata response looked like this:
{
    "name": "me-and-alicia-honeymoon.jpg",
    "type": "image/jpeg",
    "size": 1266824
}
That's it!
That's one more down! Now you can create your own version of the microservice. At this point, you can probably go back and rewrite the other two microservices to use Controllers. You might even want to combile all your microservices into a single project - now that you can use Controllers and Middleware, you can get creative and set that up if you want.
A reference version of this final app can be found on Github, including deployment scripts for Bash and PowerShell.